Do you want to learn how to repaint kitchen cabinets white? If you’re anything like me, you love the idea of a fresh, bright kitchen but don’t love the price tag that comes with a full remodel. That’s exactly why I decided to repaint kitchen cabinets white—it’s one of the easiest and most affordable ways to transform the space without breaking the bank. But let me tell you, getting that smooth, professional finish takes more than just slapping on a coat of paint.
I’ve seen way too many tutorials that leave out the important details, so I’m breaking everything down about how to repaint kitchen cabinets white in a way that actually makes sense, even if you’re a total beginner.
What You’ll Get From This Guide:
✔ The right way to prep cabinets (because skipping steps can lead to a disaster)
✔ The best primers and paints that won’t chip or turn yellow over time
✔ A foolproof method to paint without brush streaks
✔ How to seal and maintain your cabinets so they look amazing for years
Let’s get started! First, we need to round up some tools and materials.
Table of Contents -how to repaint kitchen cabinets white
What You’ll Need to Repaint Your Kitchen Cabinets White
Having the right supplies makes a huge difference—trust me, I learned this the hard way. Skimping on quality here can lead to uneven coverage, peeling, or a finish that just doesn’t last. Here’s what I used:
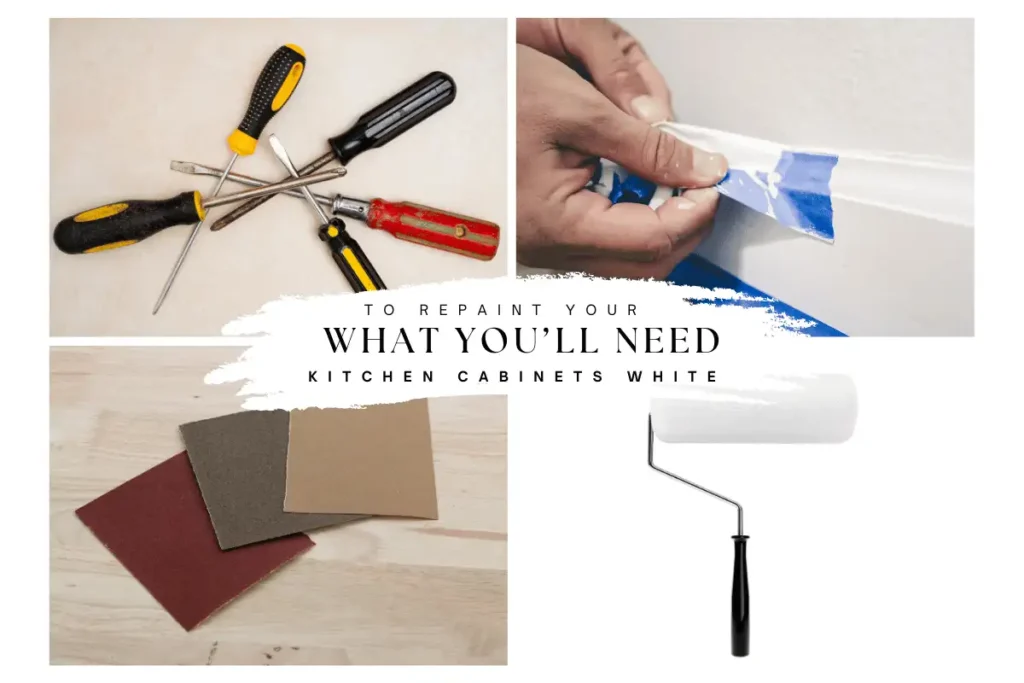
Tools needed to repaint kitchen cabinets white :
✔ Screwdriver (to remove cabinet doors and hardware)
✔ Painter’s tape (to keep paint where it belongs)
✔ Sandpaper (120-grit and 220-grit for smoothing)
✔ Tack cloth or microfiber cloth (to wipe off dust)
✔ High-quality angled brush (for detailed edges)
✔ Foam roller or paint sprayer (for that perfect, brush-free finish)
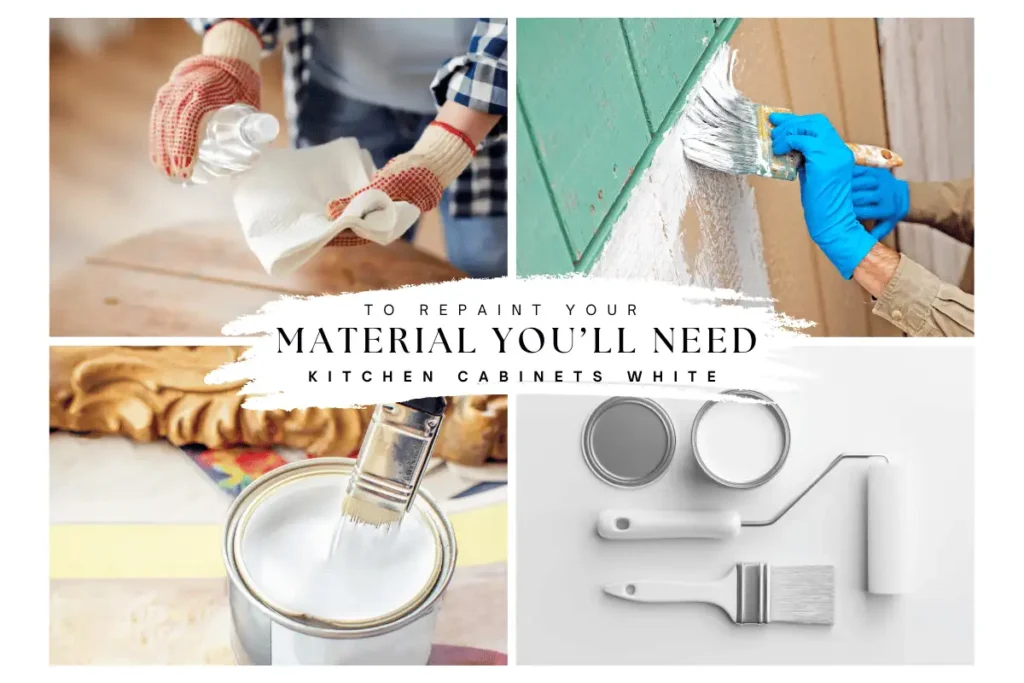
Materials needed to repaint kitchen cabinets white:
✔ Degreaser or TSP (to cut through built-up grime)
✔ Wood filler (for fixing dents and scratches)
✔ Stain-blocking primer (because no one wants old stains showing through)
✔ High-quality white paint (semi-gloss or satin for durability)
✔ Topcoat or sealer (optional, but it adds extra protection)
Now that we have everything ready, let’s move on to the most important part—prepping the cabinets.
Step 1: Getting ready to repaint kitchen cabinets white
If there’s one thing I can’t stress enough, it’s this: don’t rush the prep work. I know it’s tempting to dive straight into painting, but skipping these steps can lead to peeling paint, uneven coverage, and a finish that won’t hold up. Take your time—it’s worth it.
1. Remove Cabinet Doors, Drawers, and Hardware
I started by taking off all the cabinet doors and drawers with a screwdriver. Pro tip: Label each piece with masking tape so you know exactly where everything goes when it’s time to put it all back. Trust me, you don’t want to play a guessing game later.
I also put all the screws, hinges, and handles in a small container to keep them from disappearing into some black hole (which, in my house, happens all too often).
2. Clean Everything Thoroughly
Kitchen cabinets collect more grease and grime than you’d think. Even if they don’t look dirty, I guarantee they are. I used a degreaser mixed with warm water and wiped down every inch of the cabinets. After that, I went over them again with a damp cloth and let everything dry completely.
3. Fill Any Holes or Scratches
If your cabinets have seen better days, now’s the time to fix them up. I used wood filler to smooth out old hardware holes and deep scratches, applied it with a putty knife, and let it dry. A quick sanding with 120-grit sandpaper made everything perfectly smooth.
4. Sand the Cabinet Surfaces
This step is non-negotiable. Sanding helps the paint stick better, which means a longer-lasting finish. I used 120-grit sandpaper to dull the glossy surface, then followed up with 220-grit for an extra smooth feel. Once that was done, I wiped away all the dust with a tack cloth.
5. Protect Your Kitchen
The last thing you want is paint splatters all over your counters and floors. I used painter’s tape along the walls and edges, then laid down a drop cloth to protect my floors.
And just like that, the cabinets were ready for the next step: priming. But that’s a story for the next section!
Step 2: The Make-or-Break Priming Stage of repaint kitchen cabinets white
Look, if you mess this part up, you’ll regret it. Trust me. Primer is what makes or breaks your paint job. Skip it, or use the wrong one, and you’ll be looking at peeling, streaky, uneven cabinets in a few months. Not fun.
Picking the Right Primer (Because It Matters. A Lot.)
Not all primers are created equal. If you’re painting cabinets white, this is what actually works (from personal experience and way too much trial and error):
✅ Oil-based primer – Amazing at blocking stains and gripping the surface, but takes its sweet time to dry.
✅ Shellac-based primer – If your cabinets have knots or tannins in the wood, this is a lifesaver.
✅ Bonding water-based primer – Less toxic, easier to clean up, and works well on laminate too.
👎 Avoid basic wall primers – Those won’t do a thing for your cabinets. Don’t waste your time.
Applying Primer Without Making a Mess
Here’s my no-fail method:
1️⃣ Start with a high-quality brush – Get those corners and edges first.
2️⃣ Switch to a foam roller or sprayer – For that smooth, streak-free finish.
3️⃣ Thin coats > thick coats – Thick coats = drips = frustration.
4️⃣ Let it dry – I know it’s tempting to rush, but patience here pays off.
💡 Pro Tip: Once dry, lightly sand with 220-grit sandpaper. It makes a difference.
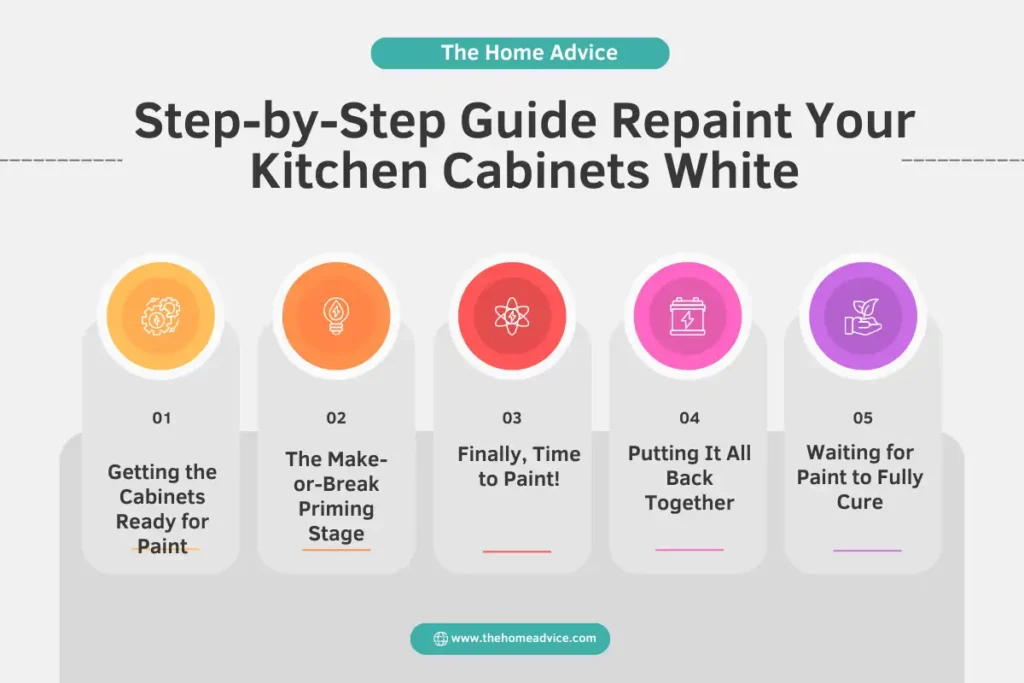
Step 3: Finally, Time to Paint!
Okay, now we’re getting to the fun part. You’ve done the prep work—now let’s bring these cabinets to life.
Choosing the Right Paint (Don’t Cheap Out Here!)
Not all white paints are the same. Some turn yellow, some chip too easily, and some just look… off. Here’s what actually works:
🎨 Water-based acrylic enamel – Dries fast, easy cleanup, and has low fumes. Great for beginners.
🎨 Oil-based enamel – Insanely durable but takes forever to dry and smells terrible.
🎨 Alkyd-based hybrid – A solid middle ground—oil-based toughness with water-based ease.
The Best Way to Apply Paint (So It Looks Professional, Not DIY-Gone-Wrong)
✅ Start with the cabinet frames – Work inside-out.
✅ Use long, smooth strokes – No dabbing, no over-brushing. Keep it light.
✅ Let the first coat dry completely – I mean completely. No touching. No shortcuts.
💡 Secret Sauce: Lightly sand (yes, again!) before your second coat. It makes everything buttery smooth.
Step 4: Putting It All Back Together
You’re almost there! But before you start reattaching everything, slow down. A few finishing touches will make all the difference.
Waiting for Paint to Fully Cure (Annoying, But Necessary)
Here’s a reality check: Just because it’s dry doesn’t mean it’s ready. If you handle your cabinets too soon, you’ll get smudges, fingerprints, and even chips.
⏳ Bare minimum: 24-48 hours.
⏳ Ideal wait time: 5-7 days. (Yes, I know it’s hard. But you’ll thank me later.)
Reinstalling Cabinet Doors Without Messing Up Your Hard Work
- Use those labels you made earlier to put everything back in the right place.
- Double-check hinge alignment before tightening screws.
- If you got new hardware, measure twice before drilling new holes.
🚀 Final Step: Step back, admire your work, and show it off. You just saved yourself hundreds (maybe thousands) of dollars and got professional-looking cabinets without hiring a pro. you just done and finished to repaint kitchen cabinets white
Related post: You may interested to read aslo – Best Mississippi Delta-Inspired Paint Colors
Frequently Asked Questions (FAQs)
Got questions? You’re not the only one. If you’re thinking about painting your kitchen cabinets, you probably want to get it right the first time. Here are the most common things people ask—along with real answers that actually help.
1. What type of paint works best to repaint kitchen cabinets white?
This is one thing you don’t want to get wrong—picking the wrong paint can lead to peeling, chipping, or a finish that just doesn’t look great. Here’s what actually works:
- Acrylic enamel – Dries quickly, easy to clean, and has low fumes. A great option if you don’t want your kitchen smelling like a paint factory for days.
- Oil-based enamel – Super durable, but it takes forever to dry and has a strong odor.
- Hybrid alkyd paint – The best of both worlds—tough like oil-based paint but cleans up easily like water-based paint.
My recommendation? If you want durability without the hassle of harsh fumes, go with hybrid alkyd paint. It’s a solid middle ground.
2. Do I really need to sand my cabinets before painting?
I get it—sanding isn’t exactly fun. But if you skip this step, your paint might start peeling in a few months, and that’s not worth the risk.
The general rule:
- If your cabinets have a glossy finish, you have to sand before priming.
- If they’re unfinished wood, a light sanding will still help the paint stick better.
It’s a little extra work upfront, but it makes a huge difference in how long your paint job lasts.
3. How many coats of paint do I actually need?
If you want a smooth, professional-looking finish, two to three coats of high-quality paint should do the trick—especially if you’re covering dark or stained wood.
Pro tip: Apply thin coats and let them dry completely before adding another layer. It might feel like it’s taking longer, but thick coats tend to leave drips and uneven coverage. Slow and steady wins this race.
4. How long does the whole process take?
Repainting kitchen cabinets isn’t a quick weekend job. Depending on drying times, you’re looking at anywhere from 3 to 7 days.
Here’s a general timeline:
- Day 1-2: Cleaning, sanding, and priming.
- Day 3-5: Painting (allowing proper drying time between coats).
- Day 6-7: Letting the paint cure, reassembling, and adding hardware.
Trying to rush through the steps will only lead to a finish that doesn’t hold up over time. Patience pays off!
5. What’s better: a brush, roller, or sprayer?
Each tool has its strengths:
- Brush – Perfect for edges, corners, and detailed areas.
- Foam roller – Great for large, flat surfaces and helps minimize streaks.
- Paint sprayer – Delivers that flawless, professional finish—but requires extra prep.
Best approach? Use a brush for details and a foam roller for larger areas unless you’re comfortable using a sprayer.
6. How do I avoid visible brush strokes?
No one wants streaky, uneven cabinets after all that hard work. Here’s how to get that smooth, factory-like finish:
- Use high-quality brushes and foam rollers—cheap ones will leave streaks.
- Apply thin, even coats. Overloading your brush leads to visible strokes.
- Lightly sand between coats with 220-grit sandpaper to keep the surface smooth.
- If you have access to a paint sprayer, even better—it eliminates brush strokes entirely.
Taking your time with each layer makes all the difference in the final look.
You may interested in also: How to update kitchen cabinets without replacing them
Final Thoughts: A Fresh, repainted white kitchen cabinets!
Painting your kitchen cabinets is one of the best ways to give your space a fresh new look without spending a fortune. With the right prep, quality materials, and a little patience, you can get a professional-grade finish—even if you’re not a pro.
Key Takeaways:
✔ Prep is everything—clean, sand, and prime like it matters (because it does).
✔ Choose the right paint—hybrid alkyd, acrylic enamel, or oil-based are your best bets.
✔ Thin coats are the way to go—rushing leads to drips and uneven coverage.
✔ Let it cure completely—waiting a few extra days prevents chipping and peeling.
Final tip: Don’t rush the curing phase! Let the cabinets sit for at least 5-7 days before putting everything back together. That’s the difference between a finish that lasts and one that starts chipping too soon.
Now, go give those cabinets the makeover they deserve!
Read more Remodeling, renovation, painting and lighting guides at the home advice.
Author Disclaimer:
I’m Jacqueline Tomko, a Color Consultant and Design Specialist dedicated to helping people transform their spaces into sources of joy and connection. As the primary author and editor for color-related content on The Home Advice, I strive to deliver accurate, actionable insights. This content is for informational purposes only—always consult a certified expert for tailored advice. For questions, reach out via our Contact Us page.